
Single sign-on is an authentication scheme that allows a user to log in with a single ID and password to any of several related, yet independent, software systems.
As we highly value security in all of our operations, we decided to make SSO available for all AlisQI customers free of charge!
This article explains how to configure single sign-on (SSO) for AlisQI using Microsoft Entra. Other SAML 2-compatible identity providers should work similarly.
In this article
Introduction
AlisQI encourages the use of SSO for both security and convenience. To enable SSO for your organization, contact the AlisQI support team.
Terminology
AlisQI supports single sign-on based on SAML 2.
In SAML terms, your user directory (e.g., Microsoft Entra) will fulfill the role of Identity Provider (IdP), while AlisQI is the Service Provider (SP).
Changes to user management
Without SSO, AlisQI users are identified by a username and a password. Email addresses are optional.
With SSO enabled, users are identified by their email addresses. Since the username and password fields are obsolete, they will be deactivated when going live with SSO.
Before SSO can be enabled, all users must have a valid email address. Note that these must exactly match those in your user directory.
Setting up
This section provides step-by-step instructions for configuring SSO with Microsoft Entra, as it is the most widely used identity provider among AlisQI customers. Other SAML 2-compatible directories can be configured using the same general approach.
Download AlisQI metadata
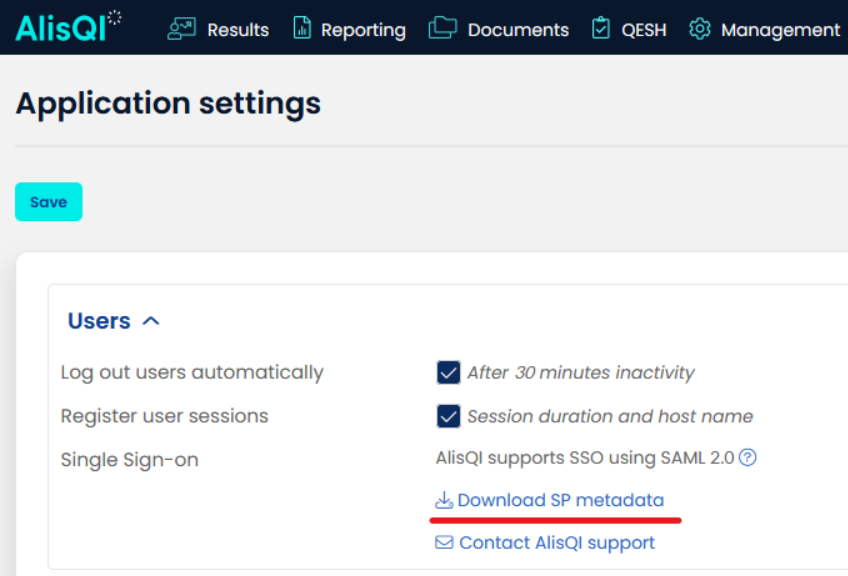
Before you start configuring SSO in Microsoft Entra, you need to download the metadata of the AlisQI SP. You can find the link in the application settings screen. Clicking it will automatically download the metadata XML file.
Create a new application in Entra
- Open your Microsoft portal
- Choose Manage > Enterprise applications from the menu
- Add a new application
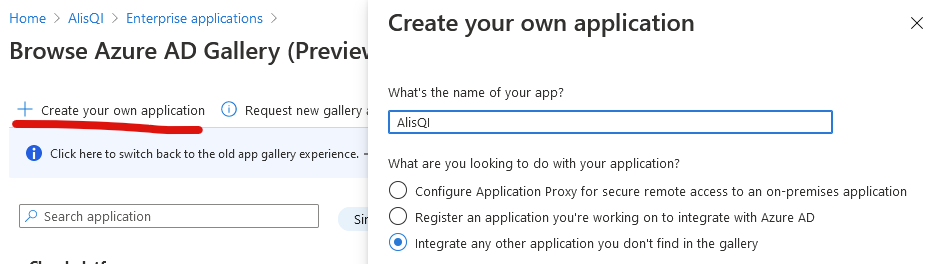
- Fill in a descriptive name and select "integrate any other application you don't find in the gallery"
- Click create and wait for the page to reload to show your newly created app
- Click "Create your own application"
Configure single sign-on
- In the application overview, open single sign-on settings and then select SAML
.png?width=670&height=168&name=image%20(8).png)
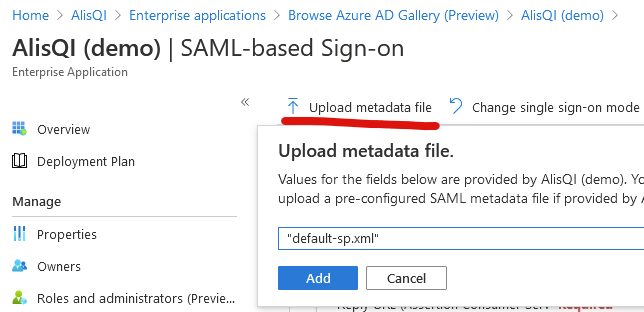
- Click on "Upload Metadata file", click in the "Select a file" field that pops up and select the file you downloaded in the previous step. Click on "Add".
- A popup "Basic SAML Configuration" will open. You don't need to make any changes, so just hit Save and close the popup.
- If another popup appears to test SSO, it can be closed.
- Edit the User Attributes & Claims, and set Unique User Identifier to user.mail like in the image below
-1.png?width=670&height=424&name=image%20(10)-1.png)
- Click on the "source attribute" field, and select "user.mail" and click Save


- On this page, click on the cross in the top right:

- The enterprise application has now been stored. But you should have been redirected to your overview automatically - go back to the enterprise applications and open the app you just created.
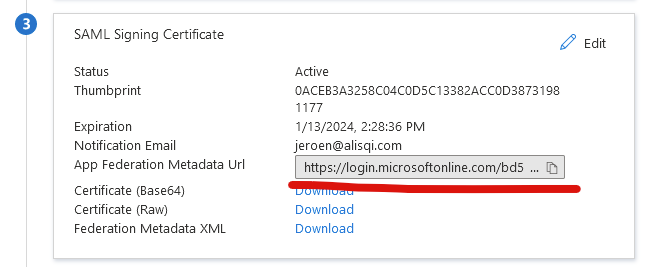
- Copy the App Federation Metadata Url and send it to AlisQI support.
Users and groups
You must specifically allow users to access AlisQI by adding them to the Users and groups menu in the application overview.
Read all about user management here.
Permissions
Permissions in AlisQI are managed at the user group level. When a user is added to a group, they automatically receive all permissions assigned to that group.
Read all about permission management here.
Properties
Optionally, you can add the AlisQI logo in the properties screen to make the application more recognizable to your users.
Resources
Watch the following videos by Microsoft for details: