Your quality processes don't stop when you fill in the data in your quality management system. On the contrary, data is only the starting point. With it, comes the desire for analytics and reporting.
Within AlisQI, manufacturers can learn from their data, gain valuable insights, and focus on improvement. Reporting is made easy – design your own templates, align these with your corporate identity and save time by allowing the smart system to quickly populate them with results in your data sets.
This feature is available with an active subscription to this solver:
In this article
Creating custom report templates
The Toolbar » Reporting drop-down menu on the top right of each results overview, allows you to access statistics, create graphs and create reports. However, to create a template that you can always reuse, choose the analysis set that you wish to turn into a template and click on Toolbar » More » Reporting templates.
Here, you can upload new templates and access already existing ones. Remember, all templates are Word files. This means you can open the templates in Word, customize them and create the layout you need.
Variables
In your template, you can refer to values from your AlisQI analysis set by means of variables. Variables represent individual values from AlisQI results. You can think of them as a stand-in that will be replaced by actual values when the report is generated.
Tip: just click on a field name to automatically copy it to your clipboard.
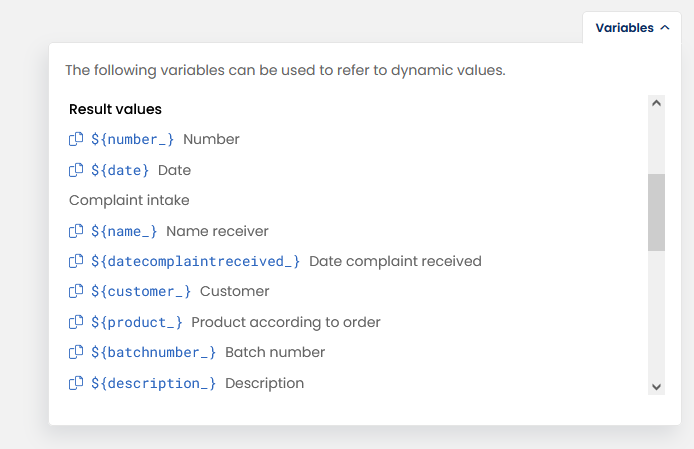
The screenshot above shows a subset of the variables that you can use in your templates. See this section on field property variables to learn more about field properties that are available as variables. This does include specifications for numeric and selection list fields.
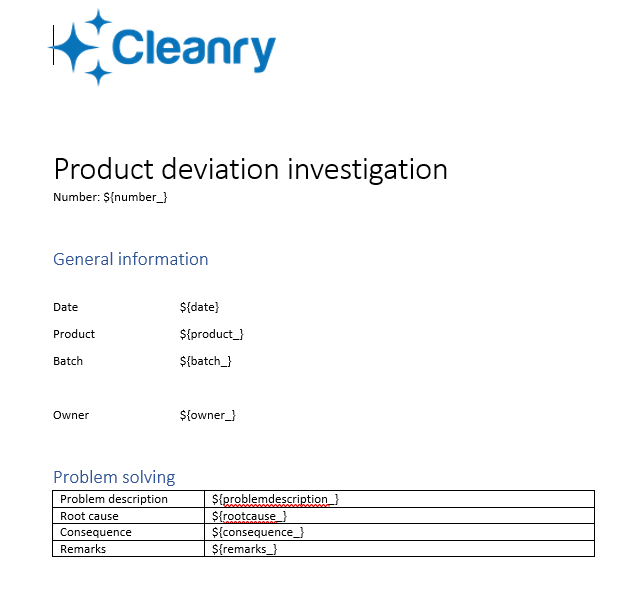
Below you see an impression of the Word document, with the variables that act as placeholder that will be replaced with values for a specific incident.
Once you’ve included all the variables you need and are done customizing your template in Word, save this to your hard drive (as a docx file) and go back to AlisQI. Click on Toolbar » New template to upload the template you just created.
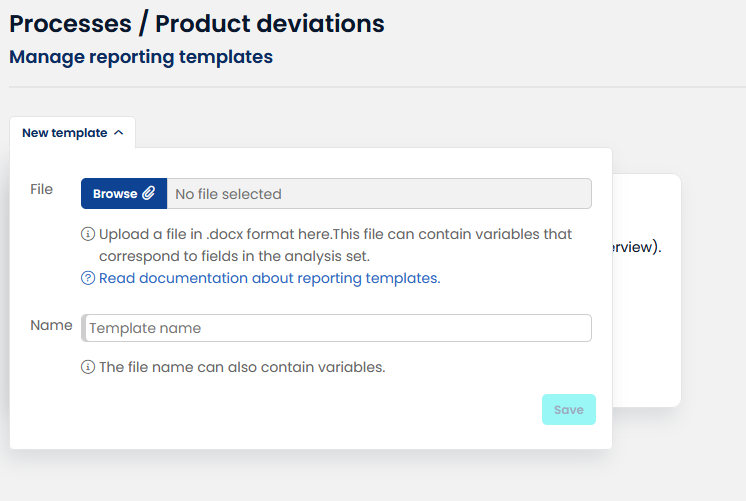
Each file upload must be 16 MB or smaller, with a total limit of 50 MB.
Now click on any result in the analysis set and open in an overview.
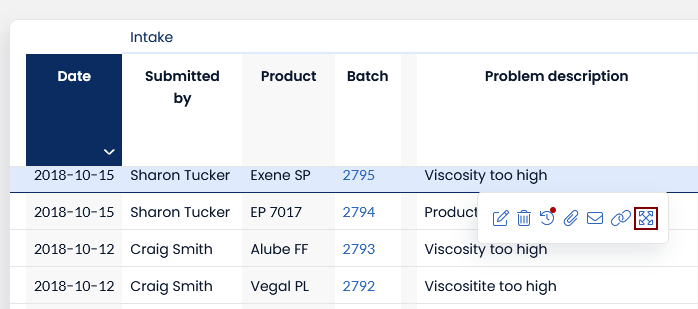
Open Toolbar » Reporting templates and click on the template you just uploaded to get the template filled with the result selected automatically.
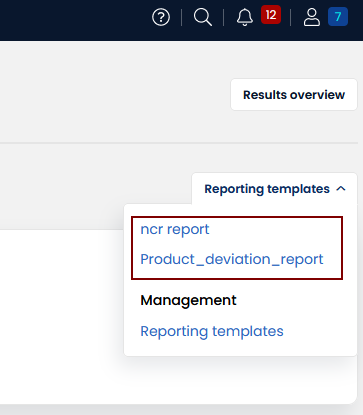
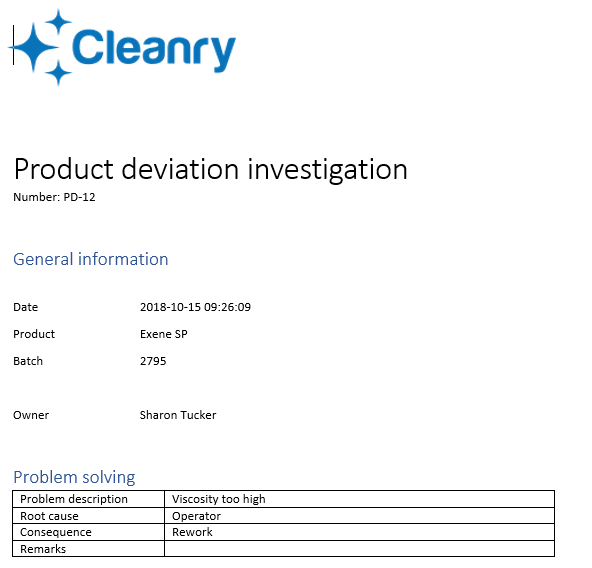
You will be presented with a Word file that contains all data from your result, in the layout of your template.
Field property variables
In addition to the variables that represent raw values from the analysis set, there are field property variables available that expose more properties of your analysis set. These property variables are available for all fields, including calculated fields. Some properties might only apply to particular field types.
The table below list the advanced variables.
| Variable | Description |
${field_.label} |
The field's title, like "Viscosity" |
${field_.unit} |
The field's unit, like "mPa.s" |
${field_.default} |
The field's default value (optional, can be null)This only applies to numeric fields |
${field_.method} |
The field's method |
${field_.decimals} |
The field's number of decimal positions (optional, can be null)This only applies to numeric fields |
${field_.spec.min}${field_.spec.innermin}${field_.spec.goal}${field_.spec.innermax}${field_.spec.max} |
The specification limits for this fields This only applies to numeric fields |
${field_.specLabel} |
A pretty formatted representation of the specification. Numeric values are rounded to the right number of decimal positions. For numeric fields with a lower and an upper limit it returns: [min value] - [max value]. For numeric fields with only a lower or only an upper limit it returns: "Min. [value]" or "Max. [value]". For selection lists a comma separated list of in-spec options is returned, i.e. "White, Transparent" |
${indexFieldLabel} |
The label of the index field, i.e. "Product" |
${indexFieldValue} |
The value for the index field for the Result involved, typically the name of the product. |
Multiple results in one report
Custom report template typically span just one result. However, multiple results can be included in a custom report. In order to include multiple results in one report, you need to create a standard report first. A standard report is created via the Toolbar » Reporting » New report feature in the Results overview.
Once you created a report, you can access the custom report templates stored for this analysis set via the Toolbar » Reporting templates list in the toolbar.
Full table with one tag
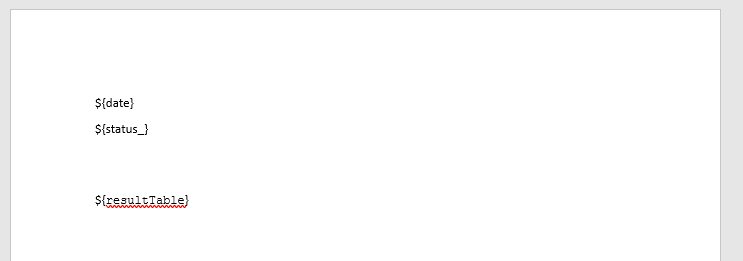
In processing the template, the ${resultTable} variable will be replaced by a tabular representation of the data in scope of your report. This allow you to insert a full table with just one tag.
Example
Example report template as Word document:
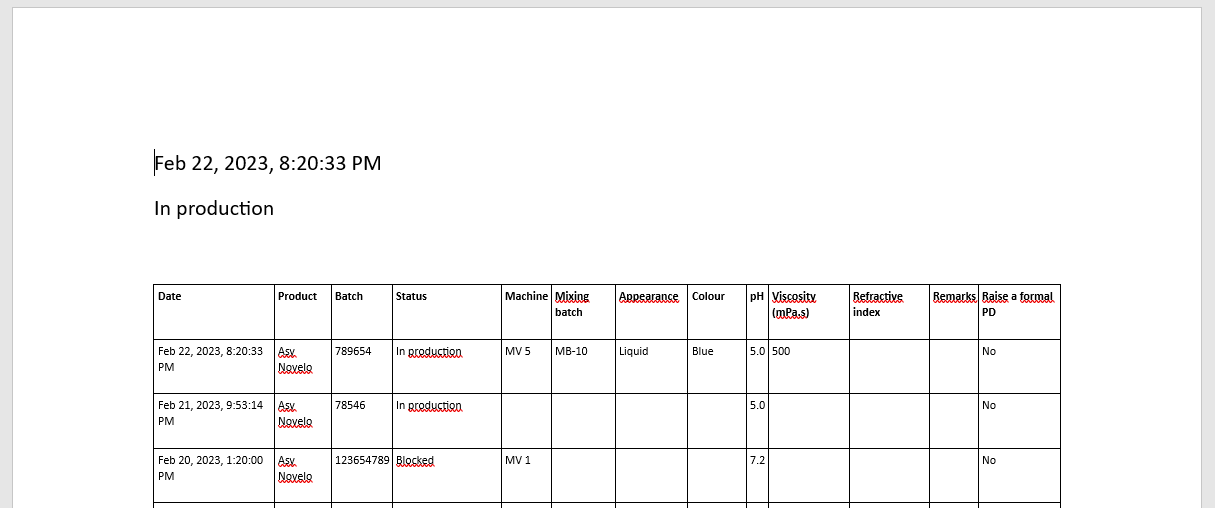
Processed template as Word file:
Granular control over results table
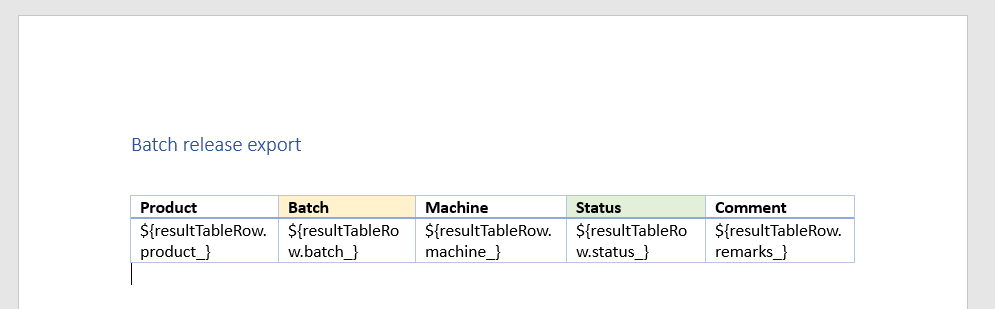
When you are looking for more granular control over the (appearance of) the table, you can use the ${resultTableRow.field_} notation. This allows you to create the structure of the table with the header and one results row. For every result in the report, a new row will be added, where the appearance is cloned.
Example
This template below defines the structure of the table with a header and first results row.
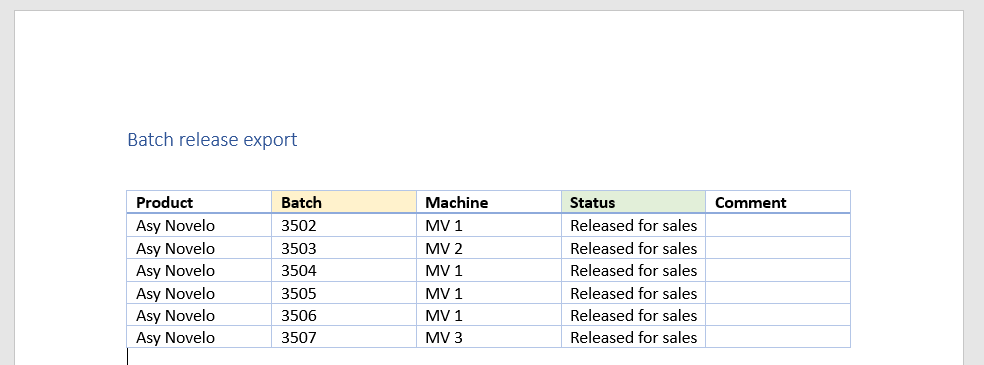
When this template is processed, a new row will be added for every result in the report, cloning the appearance settings.
Conditional sections
Our report templates support conditional logic. This enables you to define sections that only appear when a certain condition is reached.
In a template you can add a conditional check that controls whether a content section appears in the report. The conditional checks evaluate whether a non-NULL value for a form field (result value) is available. If so, the section is included in the report. If not, it is omitted.
For example, a template for a certificate of analysis can contain two sections, one with Chemical results and one with Microbiological results. The section with all chemical tests are included in a block that checks whether there is a value for pH. The section with all microbiological results is included in a block that checks whether there is a value for bacterial count.
Example
This snippet shows how conditional sections can be defined in Word templates.
${if:ph_}
// this section only appears if there is a non-empty ph_ value
${/if:ph_}

// this section is always included

${if:bacterialcount_}
// this section only appears if there is a non-empty value for bacterialcount_
${/if:bacterialcount_}
Conditional checks can only evaluate the existence of a field value. The templates only support positive checks, negation is not possible.
Conditional sections can contain other variables, these variables will be replaced with their actual value.
Conditional sections can be nested, meaning that you can add conditional subsections within conditional sections.
Certificate of analysis sections
Result report templates can be used to create custom certificates of analyis. Within the scope of the certificate of analysis you can use all field value and field property references as outlined in this article, with a few more. The table below lists the COA specific elements. They rely on the definition of a COA template.
| Variable | Description |
${customerName} |
The name of the customer associated with the Result. |
${customerAddress} |
The address of the customer associated with the Result. This can be a multiline value. |
${coaHeader.label} |
The label part of a COA template header section. See "Batch" in the screenshot below. |
 |
${coaHeader.value} |
The value part of a COA template header section. See "{batch_}" in the screenshot above. |
${coaFooter} |
The static footer text as defined in the COA template, this can be a multiline text. |
|
|
This variable will be replaced with a table containing all selected fields from the COA template. The table will consist of 5 columns:
Every field selected in the COA template will appear as a row in this table. |
${coaField} |
This variable represents a set of properties for every field selected in the COA template. By creating a table structure in your docx template you have full control over the appearance and content of the COA table. Properties available:
The two snippets below show how the ${coaField} variables can be used to render a table with COA test results and properties.Template file  Rendered report  |

All the other variables are presented in this article are also available in the context of a custom COA template.
${coaHeader.label} and ${coaHeader.value} can only be used together; they must be placed in a table, in the same row, with ${coaHeader.label} being placed before ${coaHeader.value}. Misusing these variables will result in failure to render the certificate.
Editing in Word client
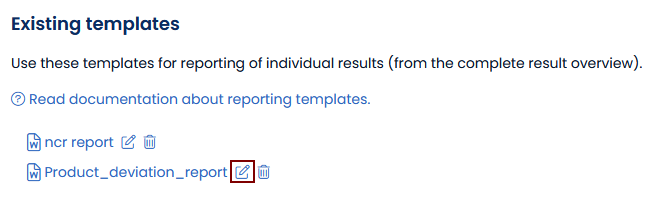
After the initial upload, it’s possible to edit directly in Word. Simply click on the pencil symbol behind an existing template and do your modifications in Word.
Whenever you hit "Save" in Word, the changes will be sent to AlisQI automatically.
There is no need to manually upload Word files to AlisQI.
Adding images
Images attached to your result can be added to the reports. This can be done in multiple ways.
Per image
To add individual image attachments you can use two notations.
1. Use the counter, images are sorted by their upload order
${imageAttachment1}
2. Use the filename (without the extension)
${image-[filename]}

Example: ${image-deviation} for deviation.jpeg
All images
You can add all image attachments by adding the ${imageAttachments} variable. All images will be added at the location of this variable.
${imageAttachments}
Adding CAPA actions or 5 times why RCA
Imagine you want to create an 8D report, with all the information about a problem including the containment, corrective and preventive actions. Well, you're at the right place!
For QESH forms you can add related CAPA actions by adding a table to your docx template file. This table should have just one row with variables. The system recognizes it by the ${action.id} variable and replicate this row for the number of actions linked to your QESH result.
Refer to fields in your Action list by means of the ${action.xxxx} variables, where xxxx refers to a field in your action list.
Example: ${action.action_} refers to the action description in the action list.

This also works for five times why root cause analysis, using the ${5why.field} placeholders.